
It was the novelty of it all. Take sunrise photos in frostbite weather in the morning. Board a plane for Cuba, arriving in time for possibly some tropical star trail photos at night.
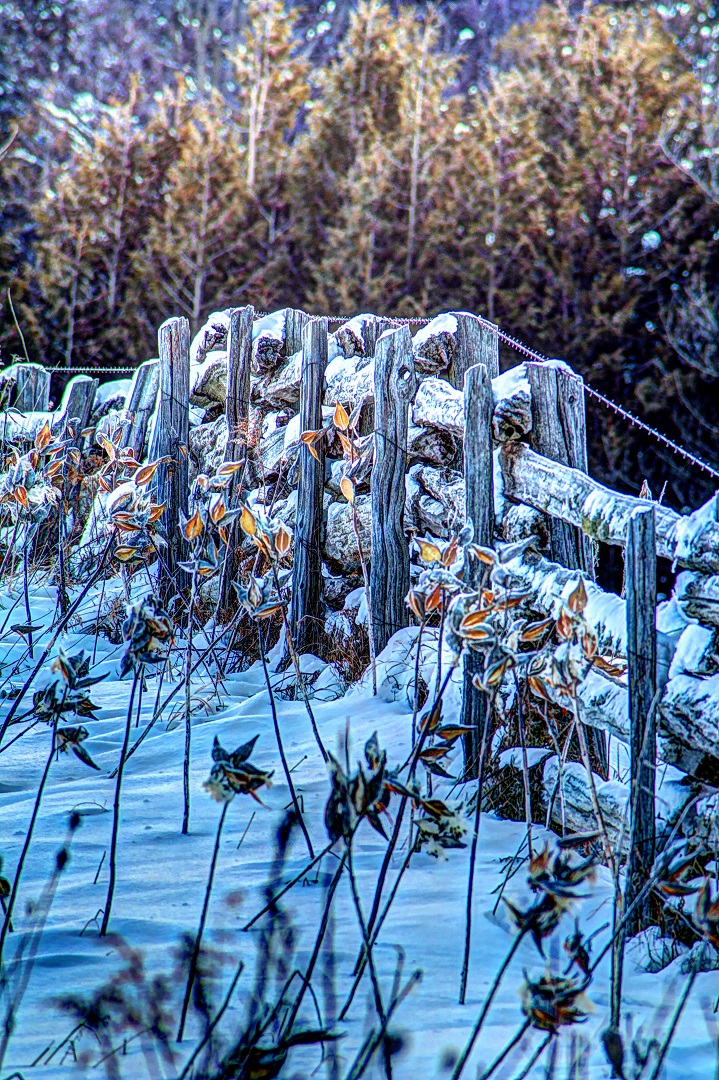
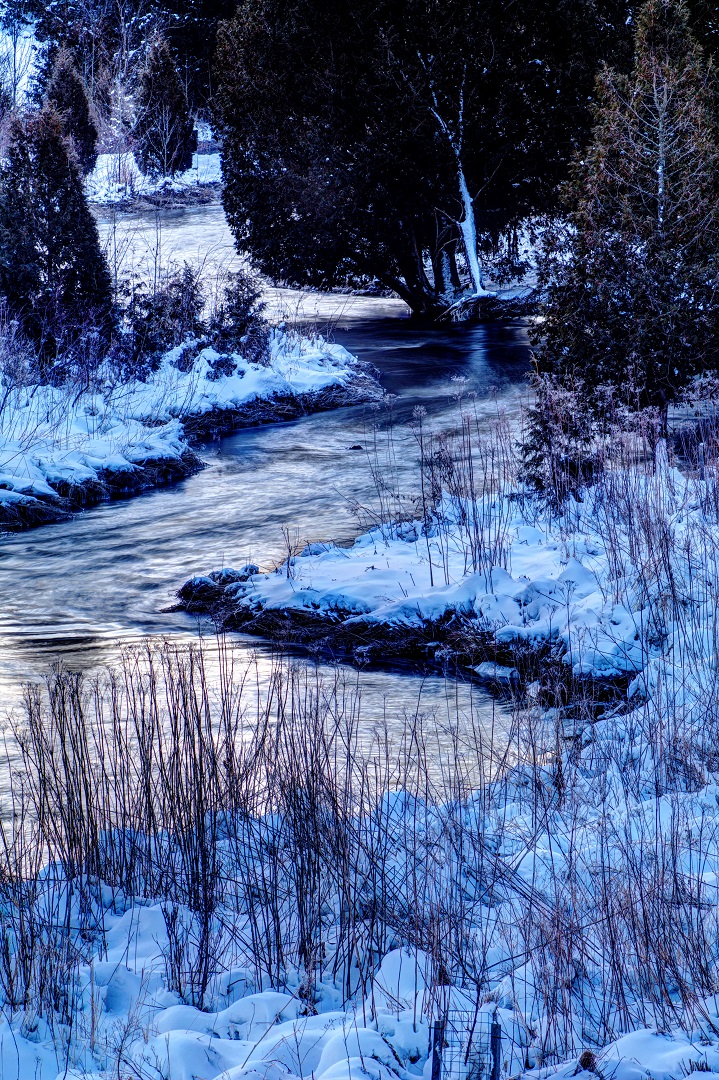
The Upper Credit Conservation Area (aka Dog Shit Park) is one of my local go-to locations when time is at a premium. Less than a ten minute drive from the house, it does provide some nice natural scenes along the Credit River and through the reclaimed farmland.
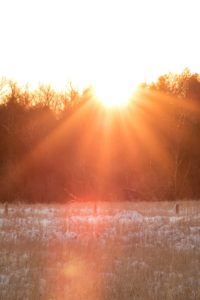
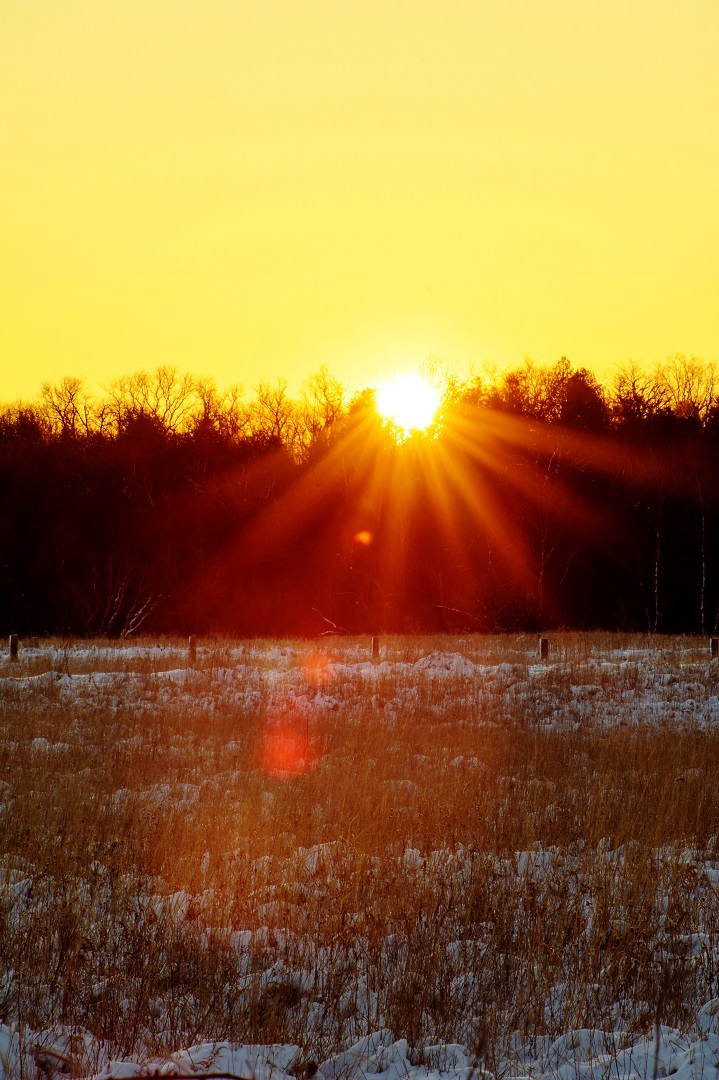
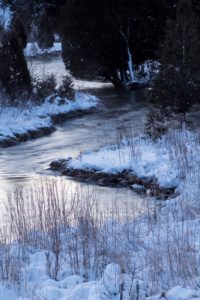
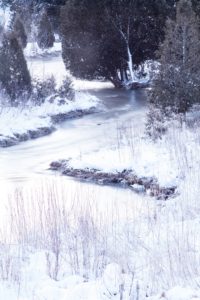
I had a vision of the view from the nearby train tracks, overlooking a bend in the river. The sun would be rising directly in the middle of the bend. But, the forecast that had included some clouds had done me wrong. The sky didn’t have a trace of cloud and there would be no colour to this sunrise.
However, I didn’t get up at 5am for nothing. There still was some things to shoot. The lighting wasn’t quite right. I’m too lazy to work with ND grad filters. So, I would have to pull out the HDR techniques. Everyone has their opinion on this method of photography. Me? I pretty indifferent.
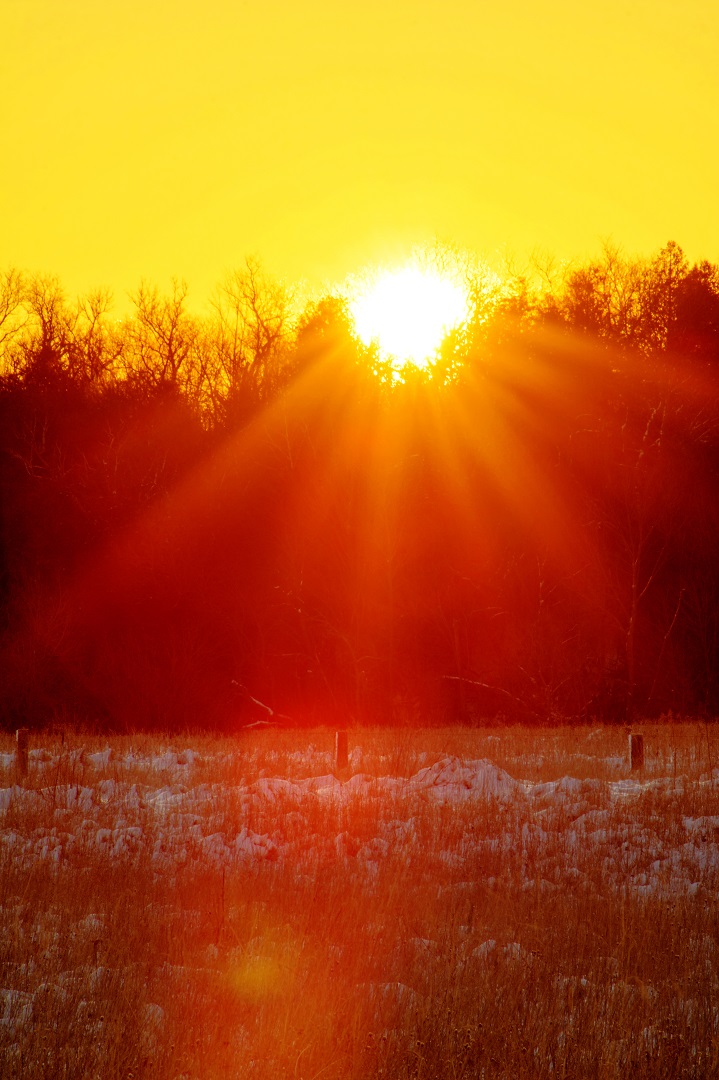
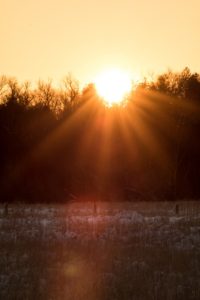
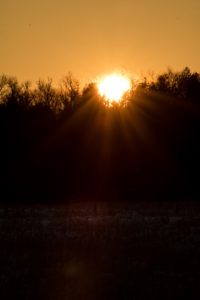
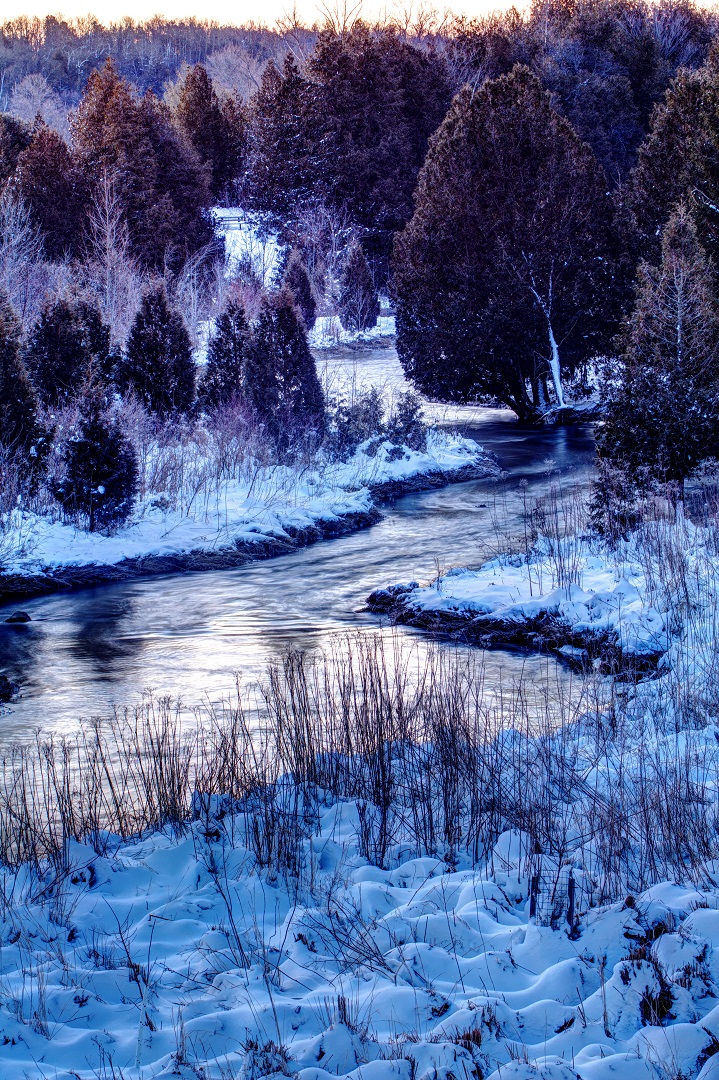
HDR Photos (And Their Source Images)
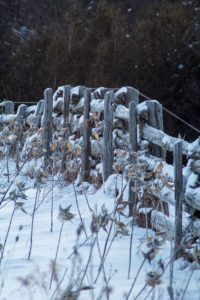
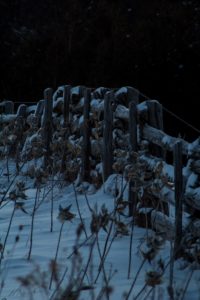
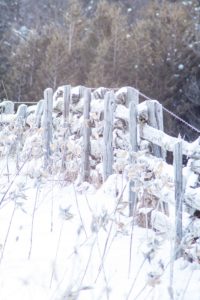
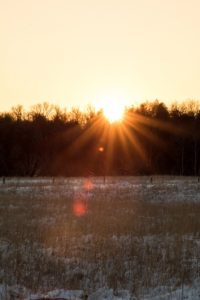
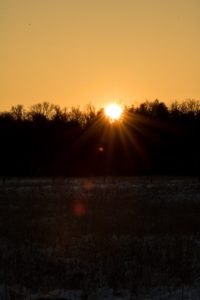
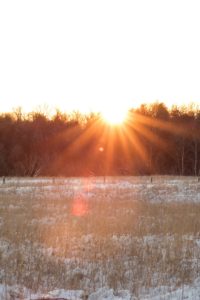
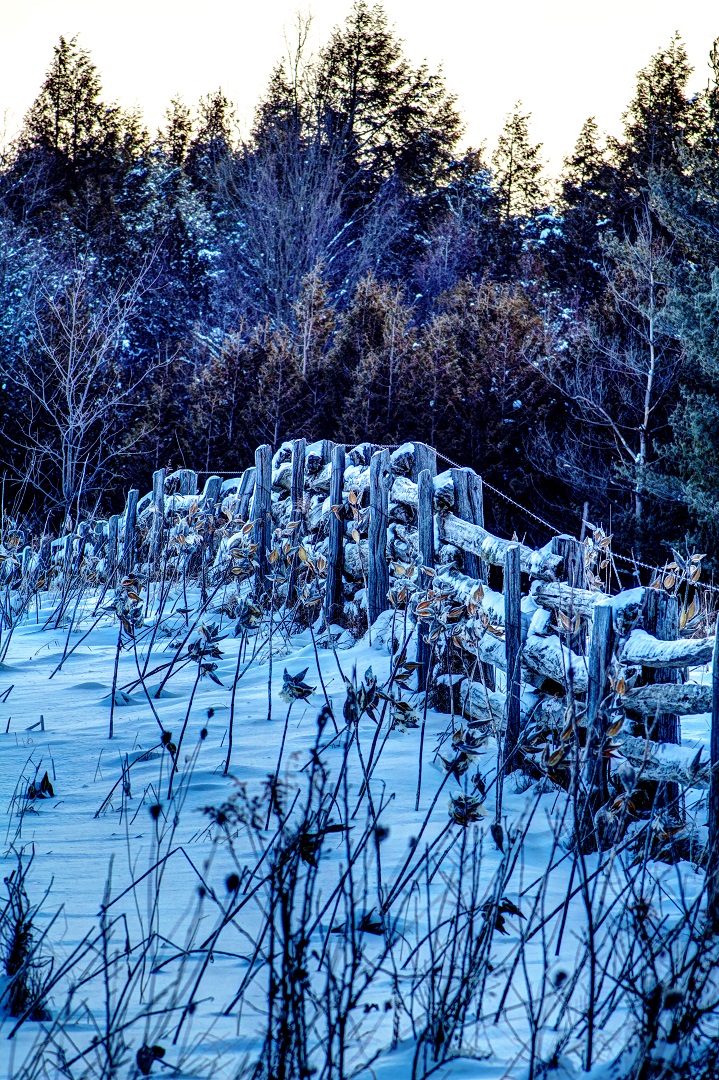
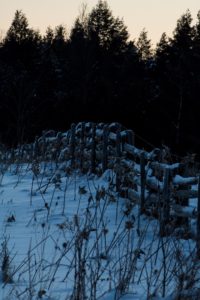
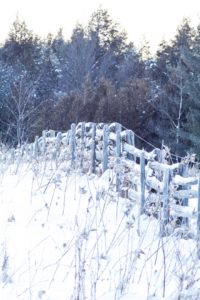
Here’s a handful of photos from that morning (click each for larger version). The final product is shown with the three bracketed images shown below each one. Below, I’ll tell you my process. It’s probably not the correct procedure but it’s just they way I get it done…
High resolution versions of these images and other photos from the same day are available at Dreamstime. Want to earn cash from your own photos? Why not sign up for free with Dreamstime and start submitting now: Become a paid photographer!


My HDR Method
My gear is not pro grade. If have no formal photography education. But, I get by. I use a Canon Rebel T6i which is mid-grade at best. I use Photoshop Elements for my post production which is a shadow of the full Photoshop.
Why am I telling you this? To embarrass myself? No. To tell all you others out there with something less than the best that your equipment doesn’t define your abilities. Your abilities define your abilities. The gear you have can probably do most things that the pro grade stuff does. It’s just a little more work…
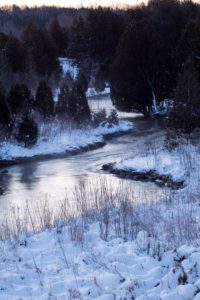
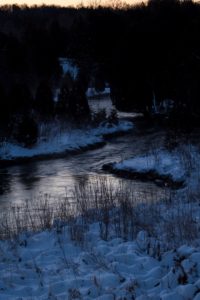
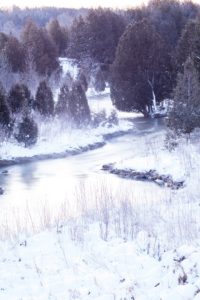
So, using aperture priority, I hit the menu button and scroll to ‘Exp Comp AEB’. From there, I scroll out so that the ‘proper’ image is bracketed on both sides by two stops. This gives a properly exposed photo (according to your camera), along with an under-exposed and over-exposed.
Why do we do this? When we look at a scene with our own eyes, we see in high dynamic range. We see the colours of the sky as equally well as we see the colours of the foreground. All is exposed perfectly for our brains to be amazed by.
Our cameras don’t do this. They expose an image either for the sky or for the ground. That’s why when you take a look at those shots of a landscape that you thought would be amazing, the sky is a blown out white or grey. When you shoot those beautiful sunset or sunrise skies, the foreground is dark and undefined.
By bracketing photos, we take all that is good from the sky, midground and foreground. We then use software to blend the three together to get that better image.
For this, I use a Photomatix Essentials plugin for Photoshop Elements. I process the RAW images in Photoshop’s RAW editor first. Then, I pull the three JPEG’s that are produced and plug them into Photomatix. From there, I just choose what preset works for the photo, make some final tweaks if necessary and I’m off to the races.
Upper Credit Conservation Area Hiking Trail Video
This video was taken at warmer time of the year but shows the range of this small but somewhat photogenic park.

