

A few times over the past couple of weeks, we have been blown away in Southern Ontario by some pretty incredible sunsets. Most of those have come on the opposite days to when I’ve gone to get some photos. The other day, it looked like the right recipe for another one of these colourful events. The problem was, I had little time before the sun came down to get to a great spot. I scrambled to the Upper Credit River Conservation Area, about a 5-10 minute drive from the house.
The Upper Credit River Conservation Area is a day-use property located just to the south of Orangeville, Ontario, right on the edge of the town of Alton. This is a relatively new park that has really come along over the past few years. The Credit River runs through the centre of it and there is a decent length of woodland and meadow hiking trails. Credit Valley Conservation has done a ton of work helping Mother Nature reclaim this former farmland with the planting of trees and reintroduction of meadow grasses.
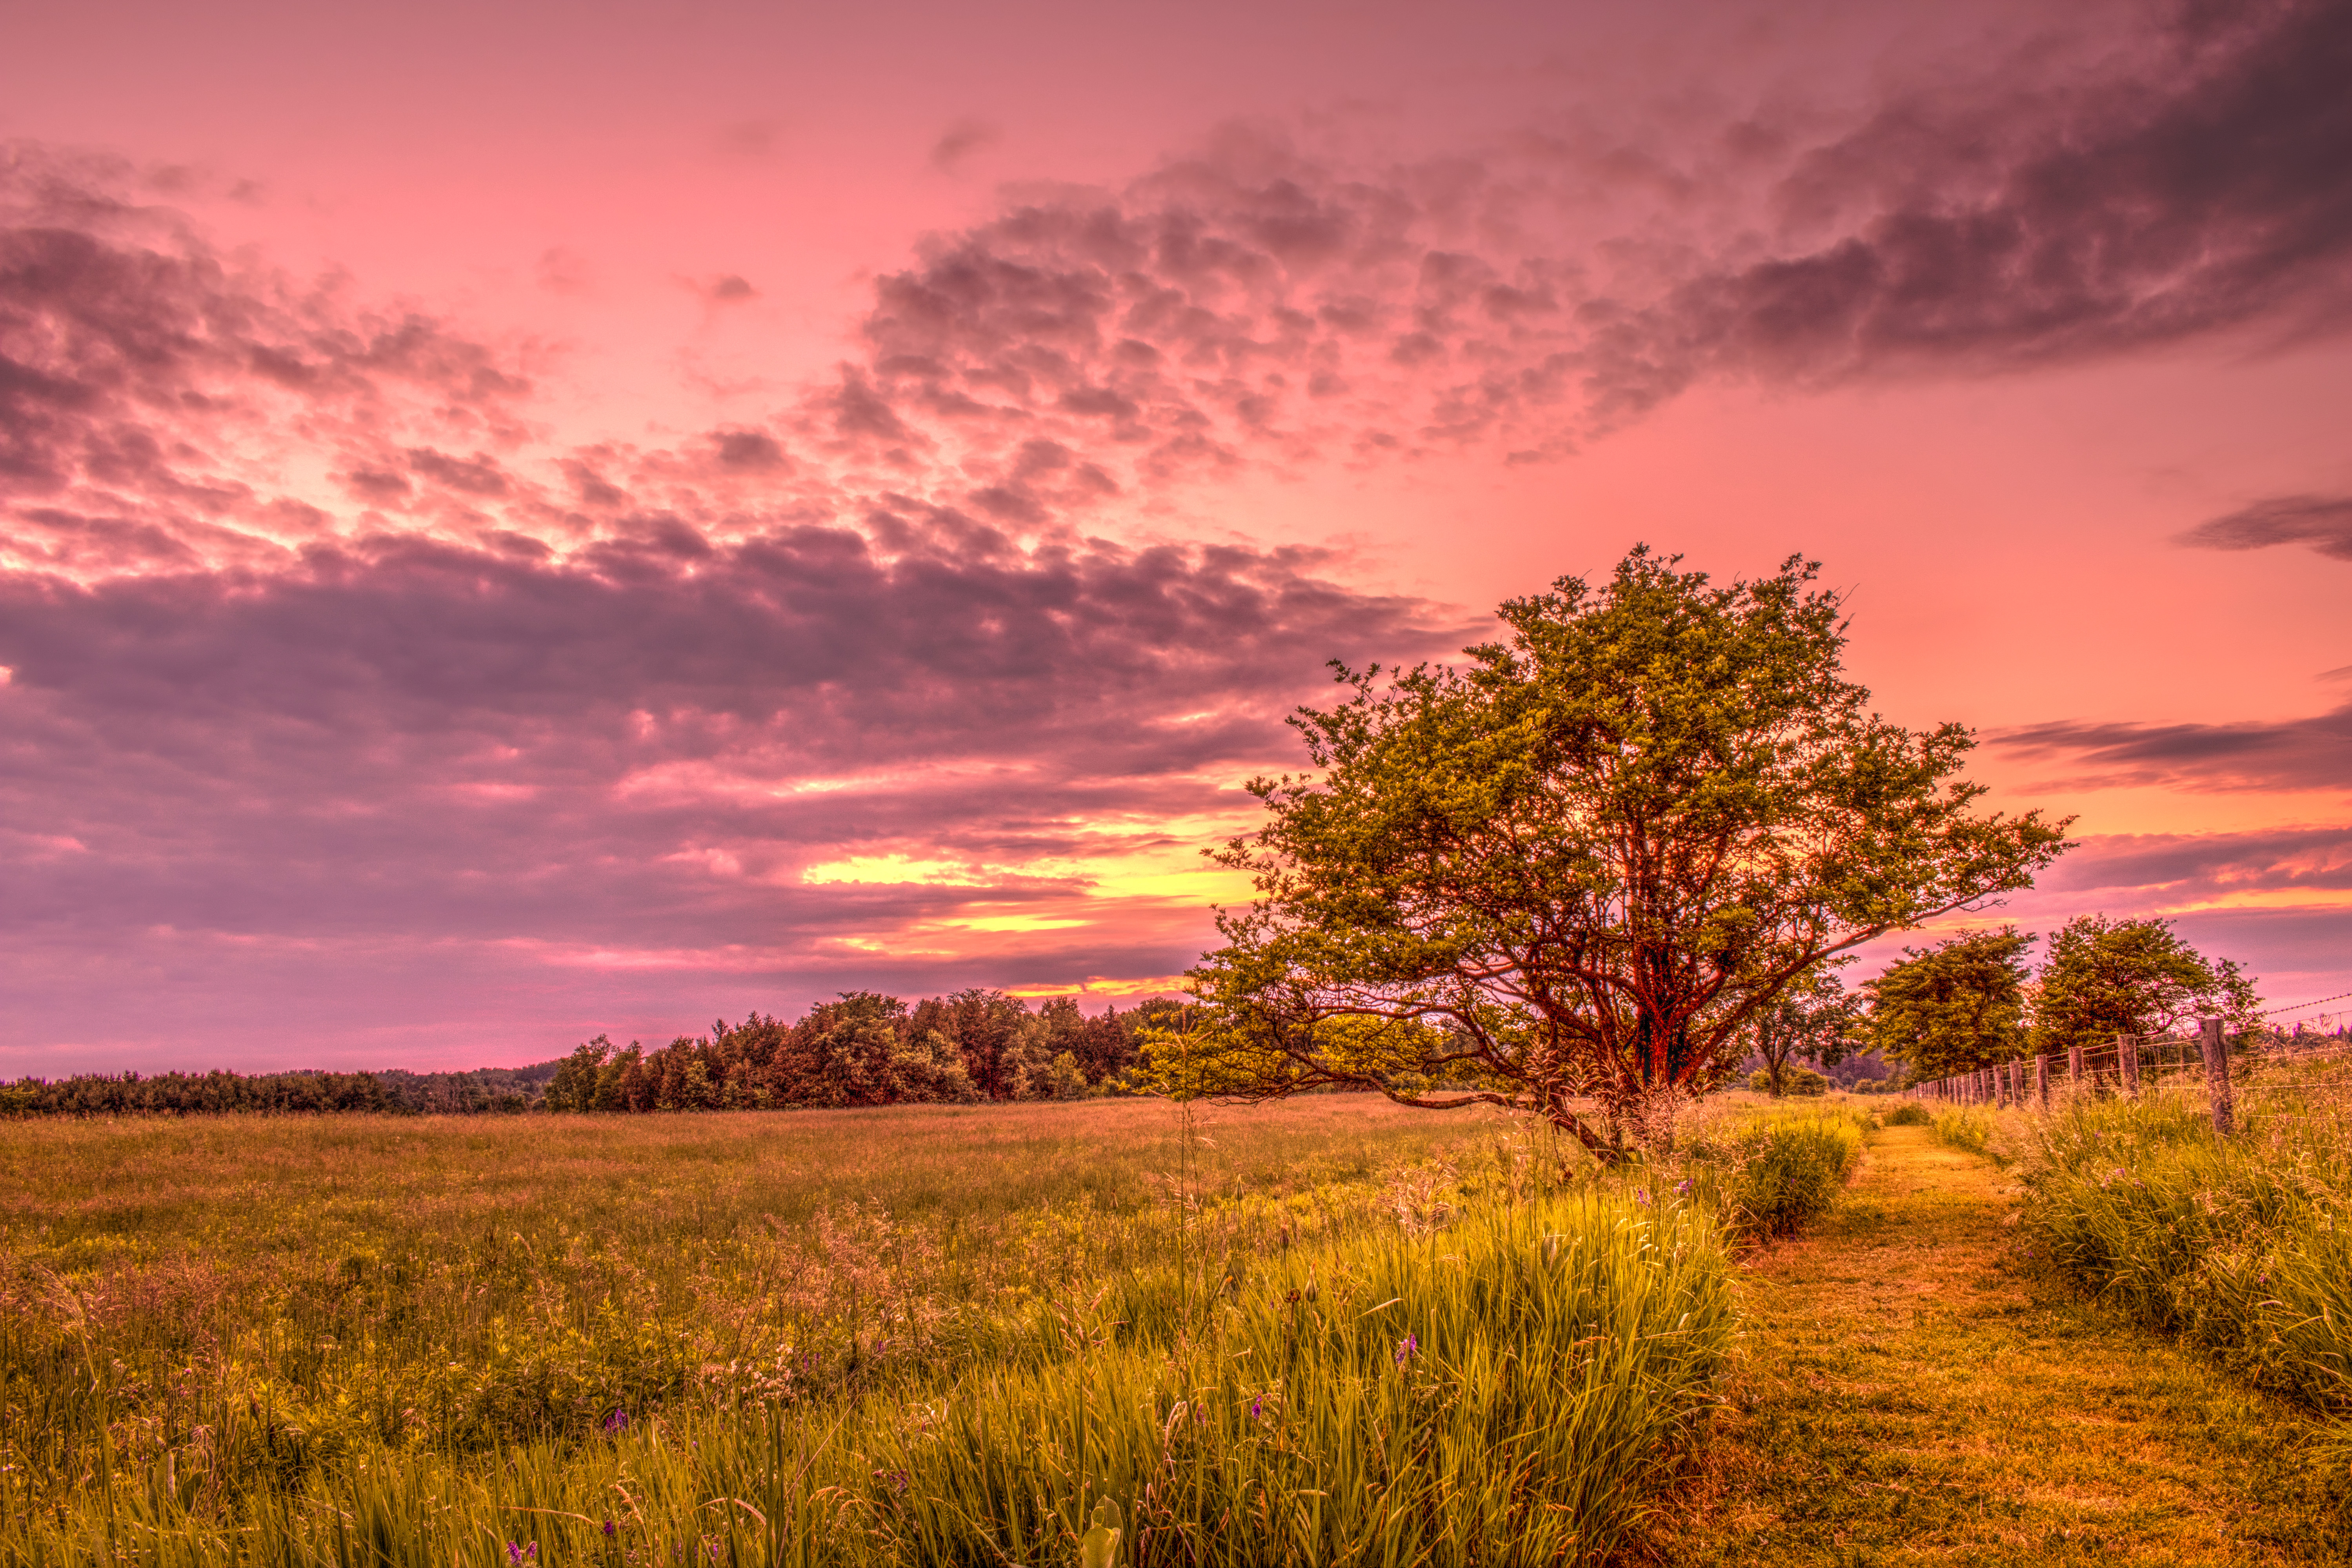
A great, close to home location. However, I was scrambling to find an angle that would show off the sunset. I even did some jogging along the trails to try to get quickly to places I thought might work. It turns out, the colours in the sky just didn’t pop and I found myself at one of the further points in the park, alone and looking for something to photograph. That’s when I thought I’d play around with some bracketed images and try to create a decent (but dreaded by so many) HDR image.
How I Made This Photo
I am not a professional photographer. I do not have pro-grade equipment or software. I use a Canon Rebel T6i DSLR, a good camera but you would never see the pros using it. I process images in Photoshop Elements 14, not the pro version of Photoshop. I blend images using Photomatix Essentials 4, not the pro version. But, I believe I get along just fine and my photography skills are slowly improving.
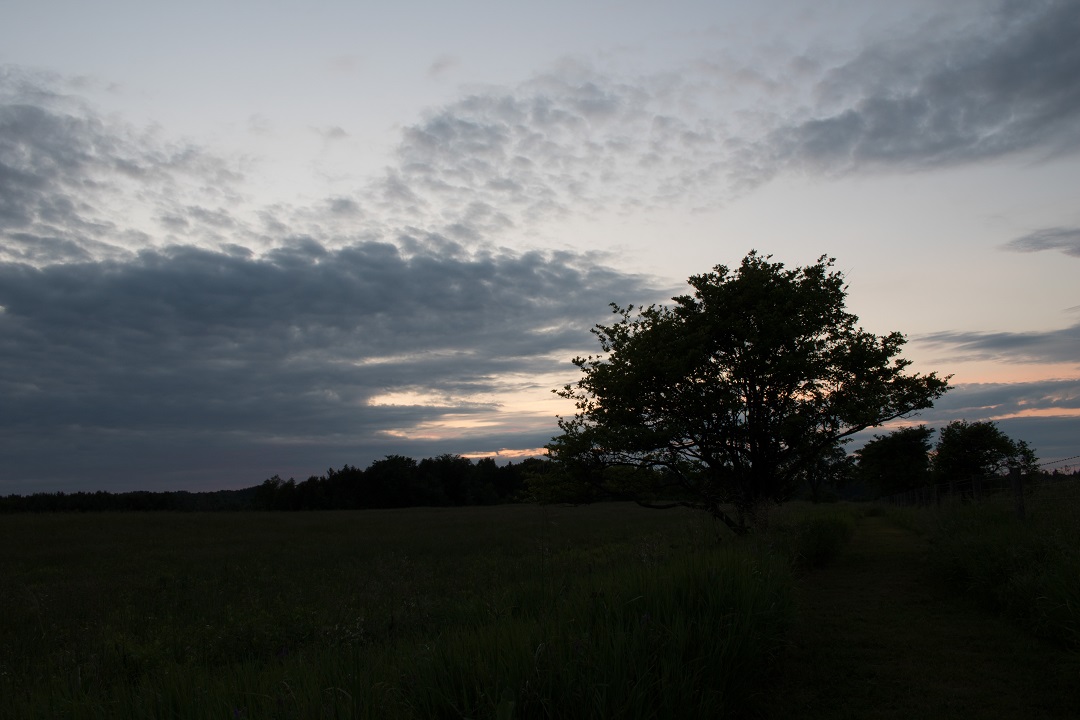
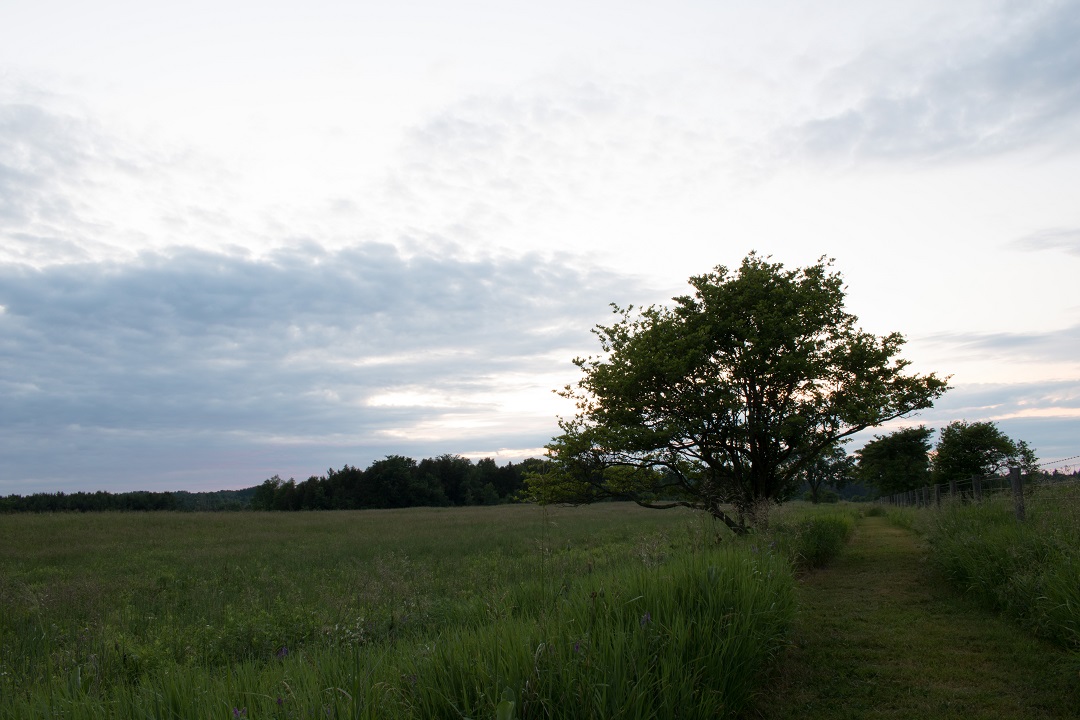
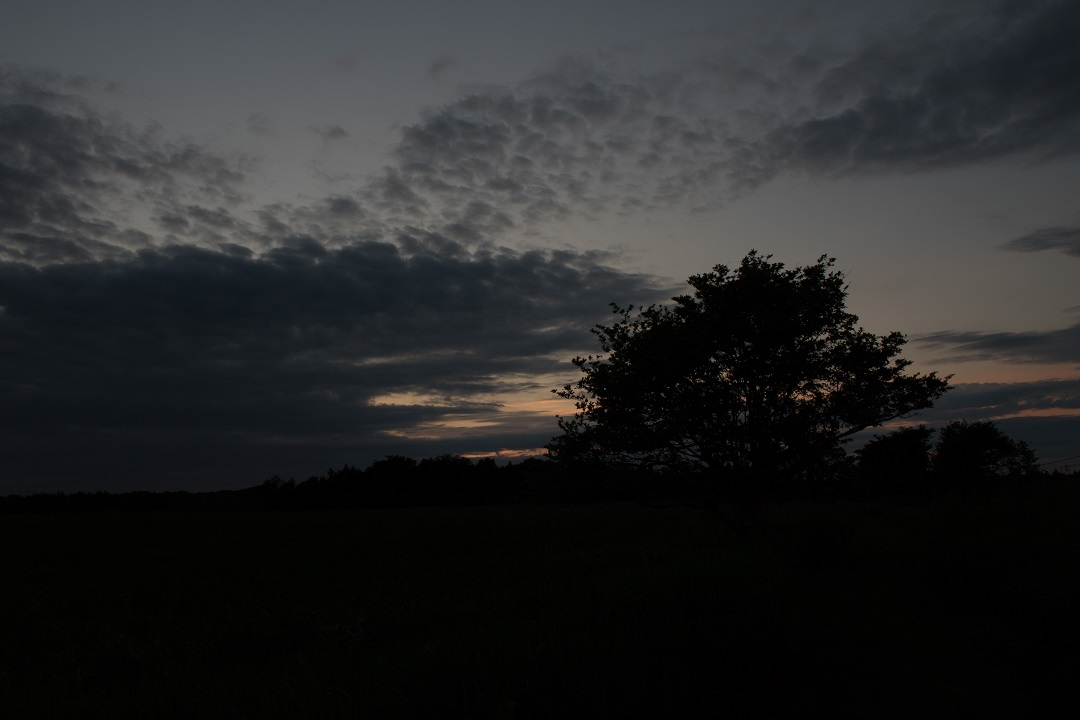
To create this particular image, I shot three RAW images in Aperature Priority mode. Using the exposure compensation function, one image was ‘normal’ while the other two were plus and minus two stops. With the ISO locked at 100, I set the aperature at f/14 (no real reason why..). So, the first image was exposed for 1/5 of a second, the second at 1/20 of a second and the third at 0.8 seconds.
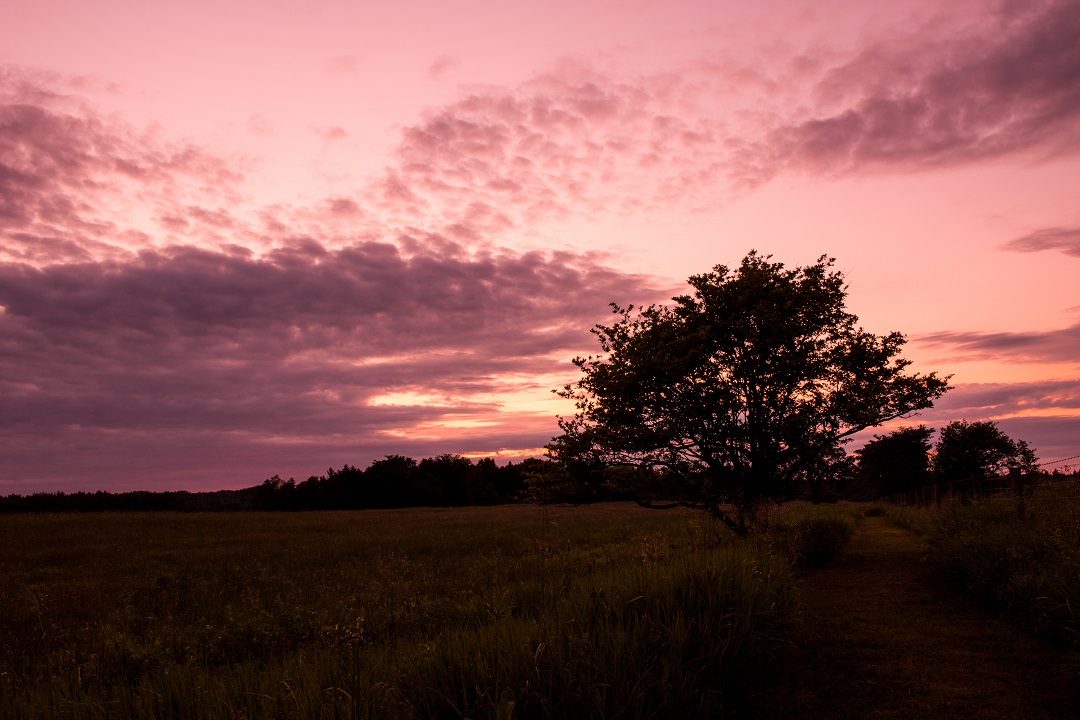
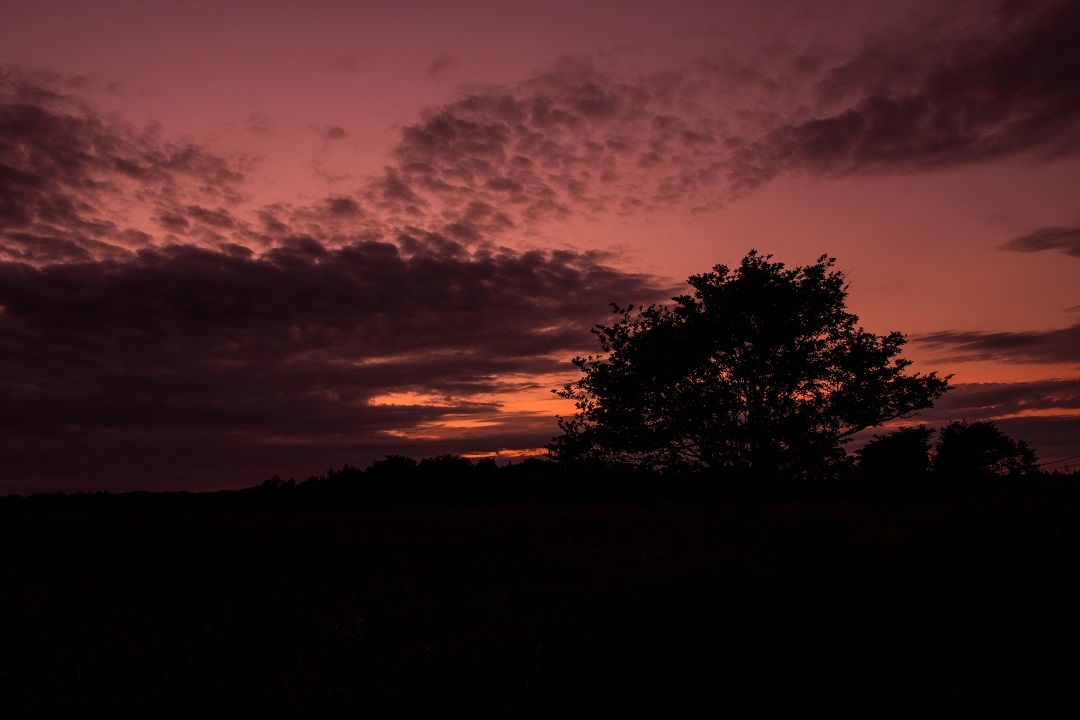
Here’s what they looked like right out of the camera (not very impressive at this point…):
Processing The Raw Images
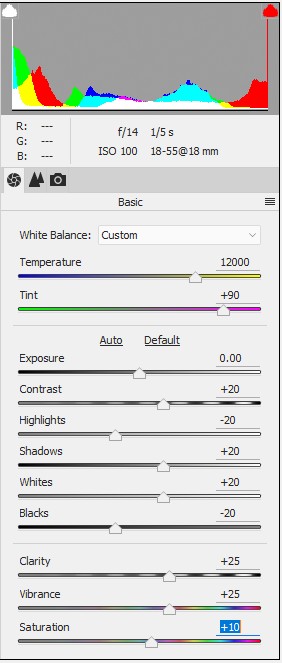 The next step was to process these three individually in Photoshop Elements 14, only using the RAW editor. The exposure was not changed at all and all three were enhanced exactly the same. The three images were then saved as JPEG files at the highest quality – nearly enough megabytes to fill up a hard drive from the 1990’s.
The individually processed images looked like this (still not looking very impressive):

Putting It All Together
I have Photomatix Essentials both as a standalone program and as an extension integrated into Photoshop Elements. Without leaving Photoshop, I can simply choose Photomatix from the ‘Automation Tools’ under the ‘File’ drop-down menu.
This is a very simple and easy to use program. The three processed images were loaded into the program and the software blends the photos to create one HDR photo. There are 30 preset options to choose from, going from realistic to quite psychedelic. I stick to the realistic looking options, mostly because I have a strong dislike for grainy or pixelated images and that is what results when you choose some of the wilder options.
At this point, you can adjust the settings in Photomatix to get what you’re looking for. I then moved the file back into Photoshop for some slight enhancements – mostly just lighting and shadows.
The result is a photo that many photography purists hate entirely! Why? It’s lazy. And, it’s not so much a realistic representation of the scene you were trying to capture. To expose the meadow equal to the sky, I should have been using a graduated neutral density filter. This darkens the sky portion so that a longer exposure is possible to bring out the meadow and trees while not blowing out the sky.
All you smart phone toting instagrammers are probably saying, “Why so much effort??” Sure, you could just snap a shot with your phone camera then enhance it with a faux-HDR function like that found in Snapseed. And, I do this fairly often, as you can see from some of my photos on my Instagram feed (Ontario Photography). Snapseed remains my go-to editor for photos on my phone. The thing is, these photos look awesome on a 2-4″ screen. However, bring them up to the size of, say, your laptop screen, and these images are horribly pixelated and grainy.
What Do You Think?
I like to paraphrase Mark Manson from his great book, The Subtle Art Of Not Giving A Fuck. We’re never right. But, everyday, you should strive to be a little less wrong. I believe my photography is going in the direction of a little less wrong. However, I’m still a hack. If you have any suggestions, please put them in the comments (I think comments close after a month – sorry – too much spam) or e-mail me at tom@itsabouttravelling.com.
Photomatix Essentials
First, I’d just like to say that I am not affiliated with HDRSoft, the creator of Photomatix, in any way. I’d like to be, but am not. All opinions in this article about the product are heart felt and not paid for. In saying that, you can find their products here: HDRSoft (again, not an affiliate link).
The version I use, Photomatix Essentials is available for a free trial download but there is a watermark inserted on you image. However, buying the license will not break the bank at $39 USD. The pro version is also available for a free trial and is just $99 for the licensed, no watermark, version.
The HDRSoft website is full of incredibly useful resources on their products and photography in general. Included are galleries by pros and regular users like you and I. To prove they are not douchebags and are also striving to be a little less wrong everyday, the company links out to third party guides for the products.
Upper Credit River Conservation Area
A little about the location before we’re done. I’ve given the Upper Credit River Conservation Area a bad rap in the past because it has been taken over by its users as a leash-free dog park. Many of these users fail to pick up after their pets. Thus, I have named it, and still call it, ‘Dog Shit Park’. However, as mentioned above, Credit Valley Conservation seems to have really put a focus on returning this location to the condition it was in before my ancestors came and stripped the land bare. Hopefully, even more land acquisition is in the future plans.
The park is located officially at 20073 Porterfield Road in Alton, Ontario. This is along regional road 136 south of Orangeville and just around the curve from Alton. The Credit River runs through the centre of the park and their has been an effort to repopulate the river with trout.
There are no facilities, other than a single blue ‘port-o-potty’ in the parking lot. The gravel parking lot is just off the highway and offers ample space for several vehicles. There is no fee to enter but a donation box is located at the entrance. Later in the summer, the field adjacent to the parking lot is an excellent spot to find butterflies.
Another nearby Orangeville location for great sunrise / sunset photography is Island Lake Conservation Area. This is located on the opposite side of the town and features a good sized lake, formerly known as the Orangeville Reservoir. Check out our recent photos from that park: Island Lake Conservation Area.


