

The ‘starburst effect’ is all the rage these days. Well, maybe not ‘the rage’ but it is pretty popular. This is the effect when a picture is taken at night and the lights seem to burst. The official name is ‘diffraction spikes’.
Sure, you can get filters for images taken with your cell phone that will give a fake effect. It turns out, to get things done the real way isn’t all that difficult, at all. It simply involves a camera that has aperture priority mode and a tripod to keep your camera steady over what is going to be a long exposure.
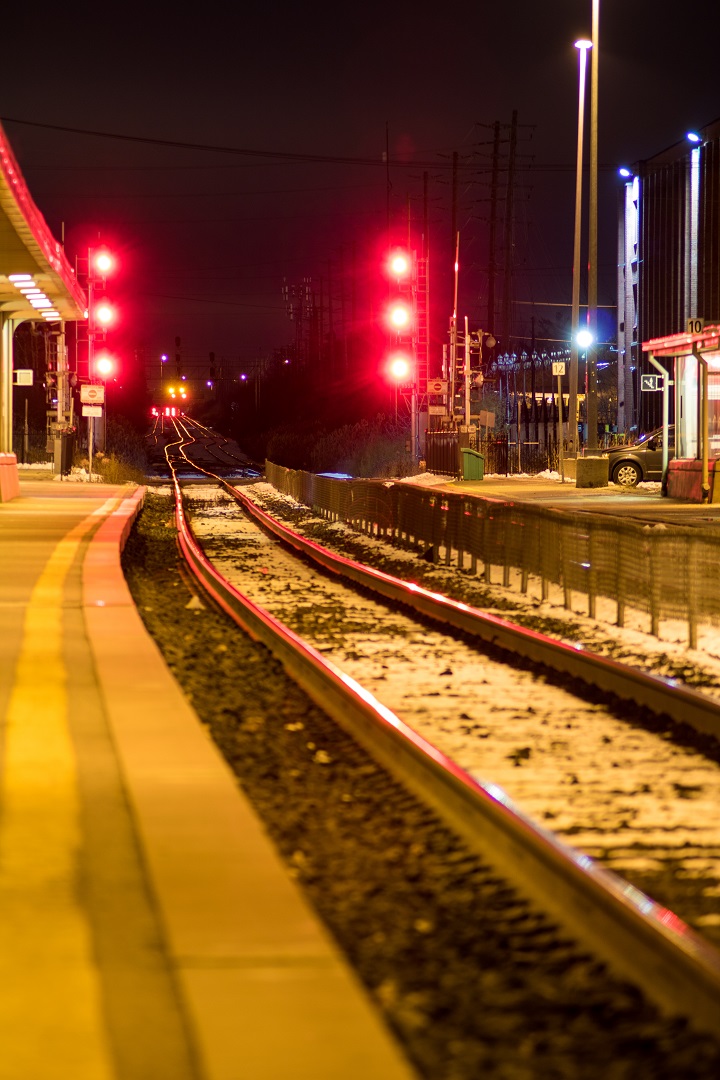
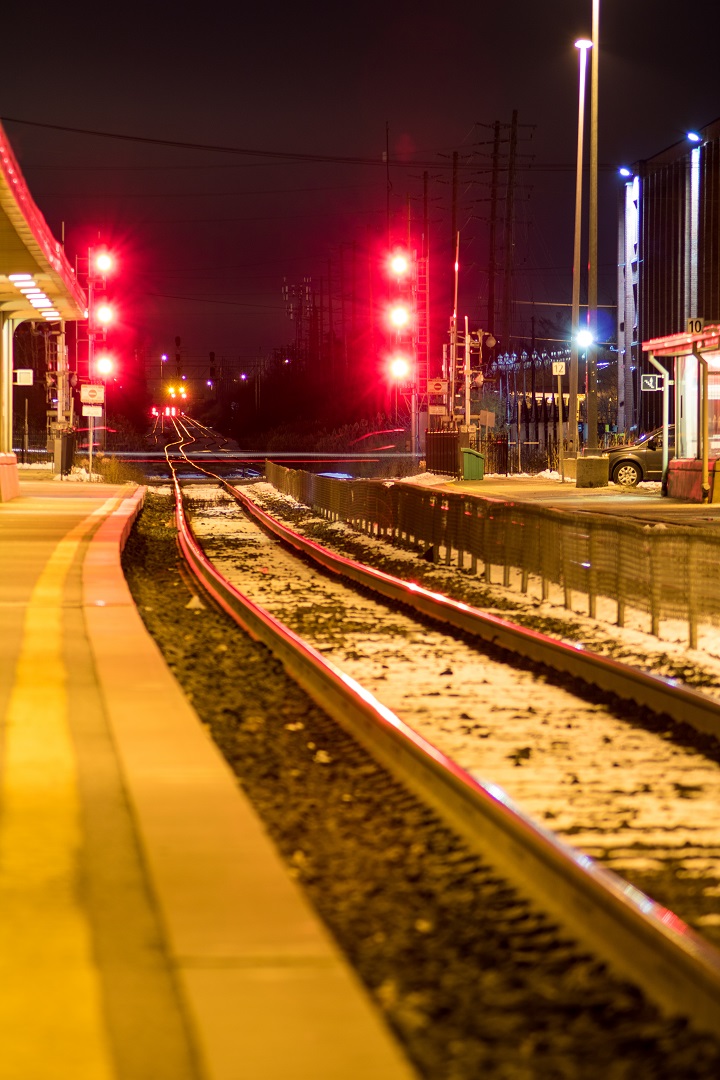
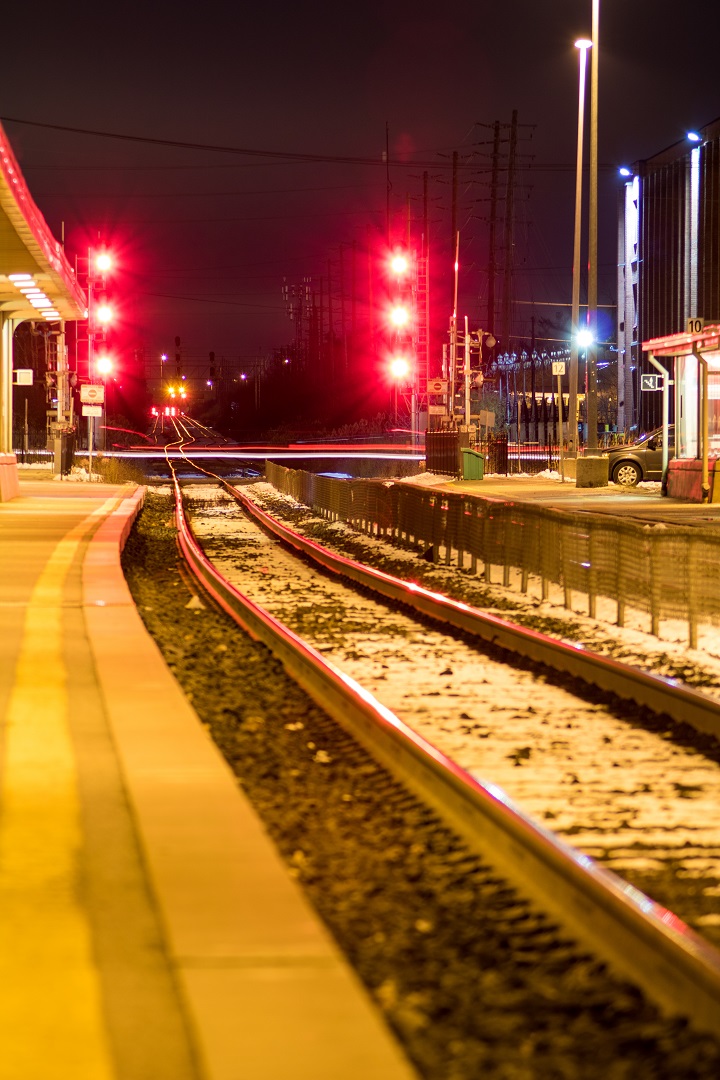
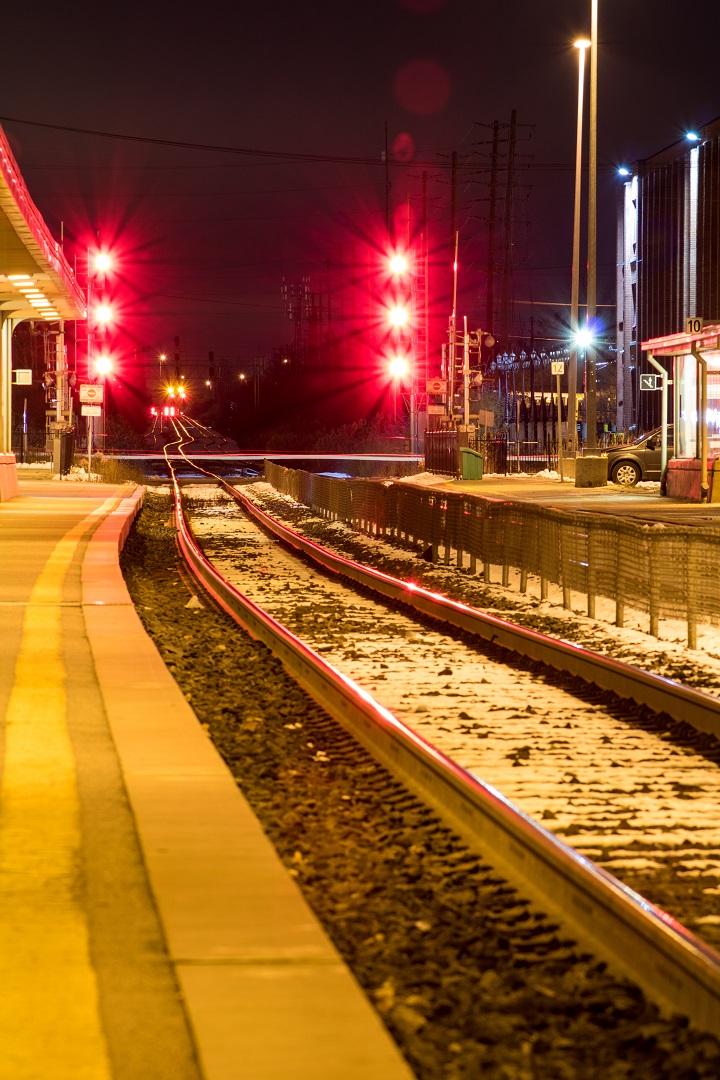
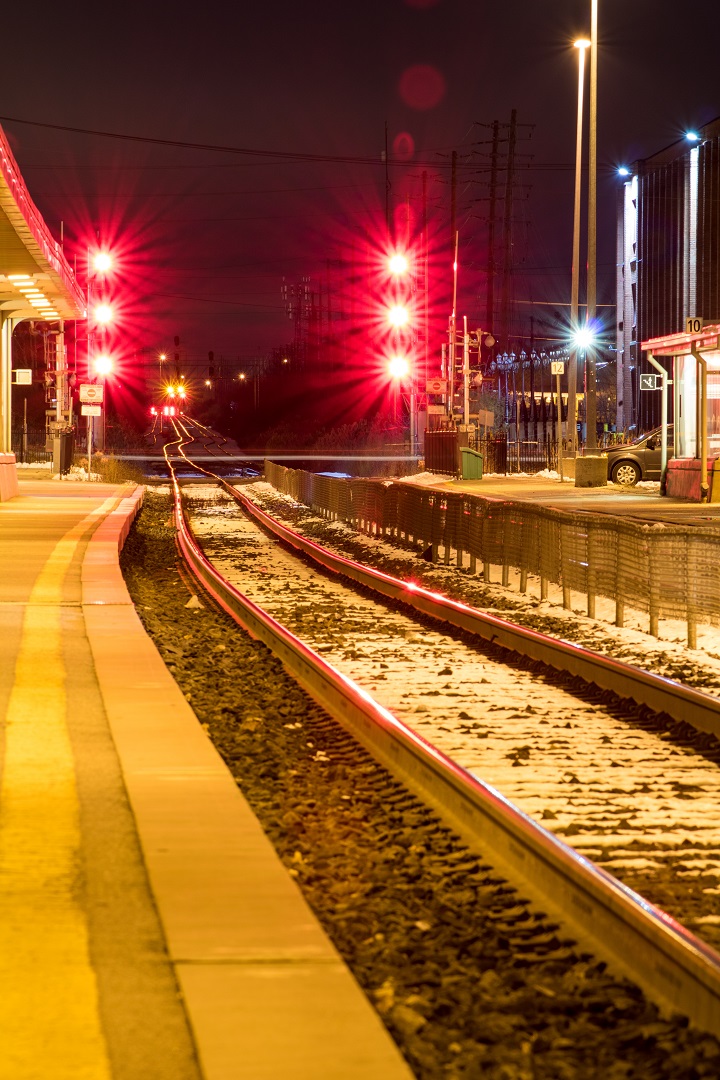
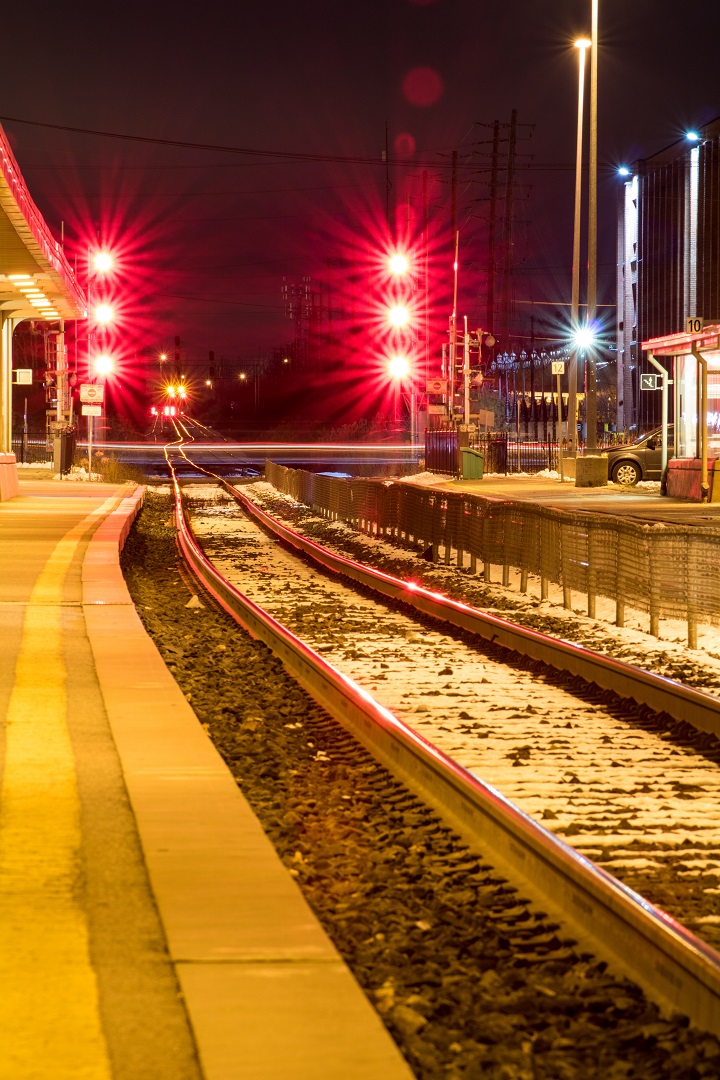
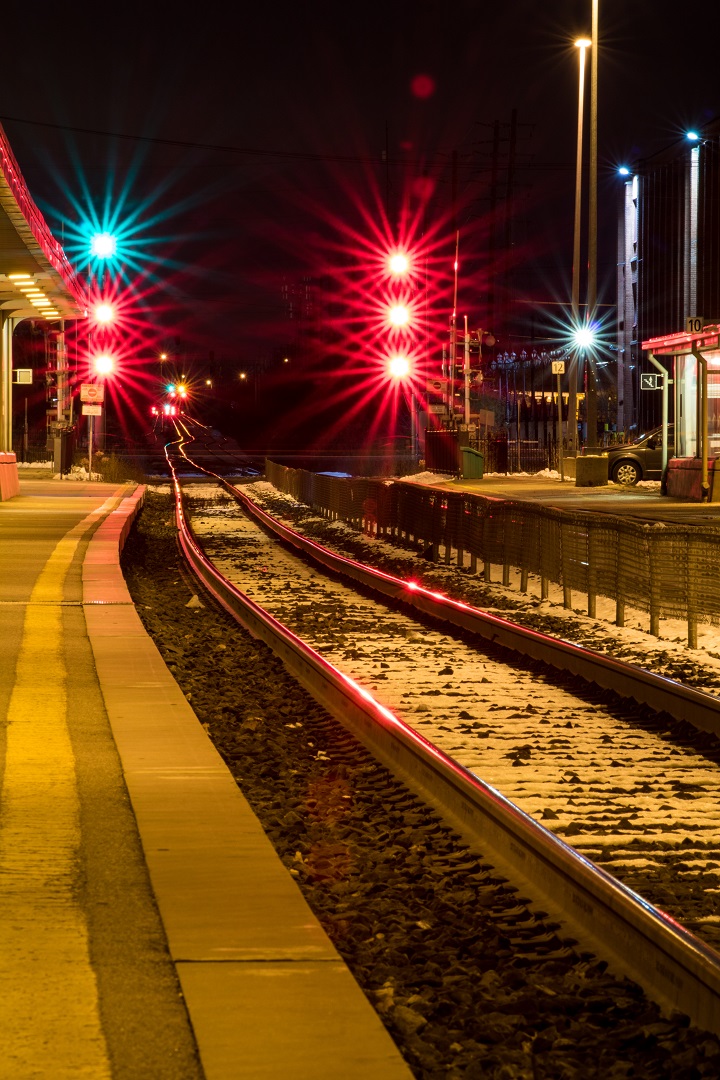
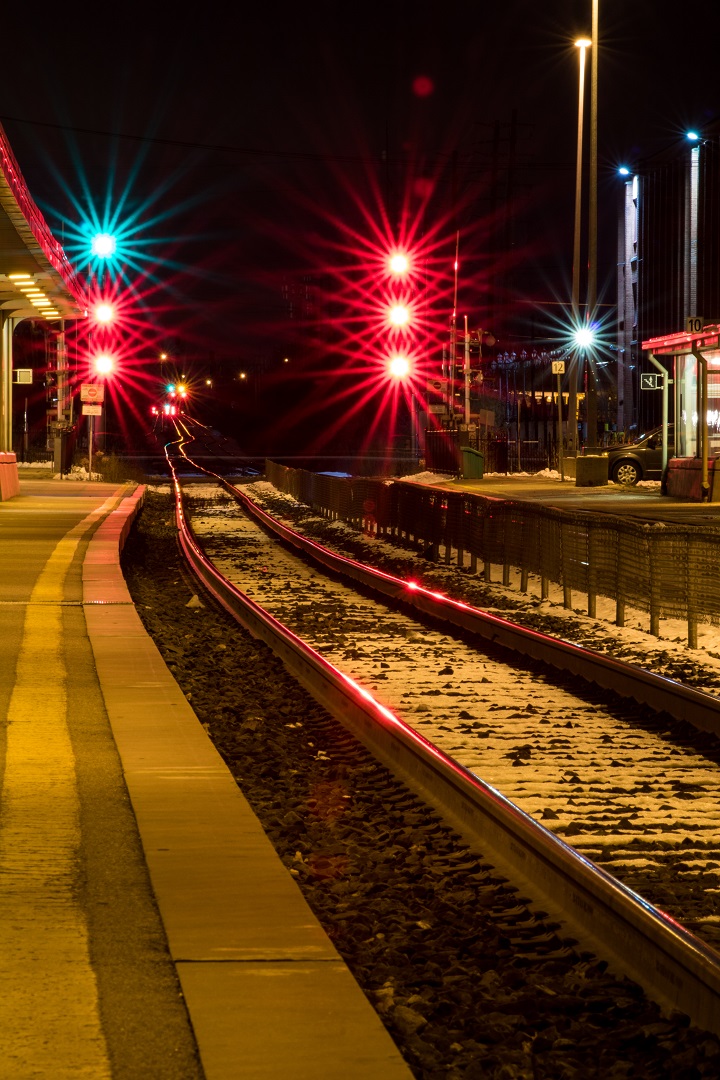
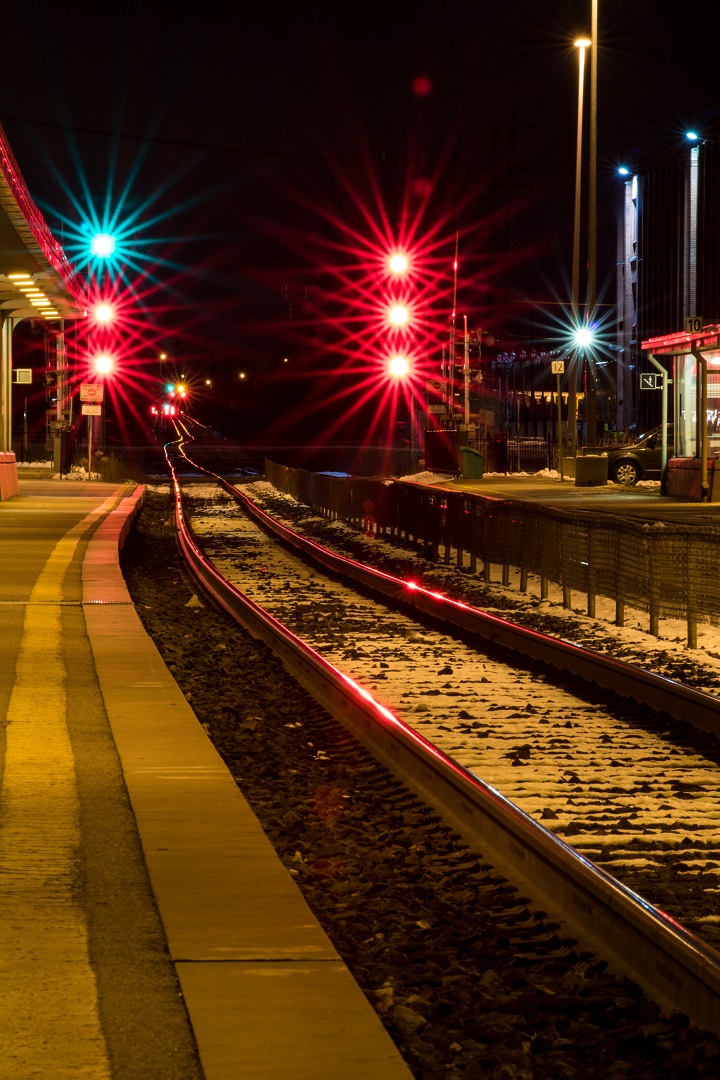
To get longer, more defined diffraction spikes, you need a small aperture, aka the opening in your camera lens. Remember, the higher the f/stop, the smaller the aperture. As you can see from the gallery below, things start to get funky at around f/13.
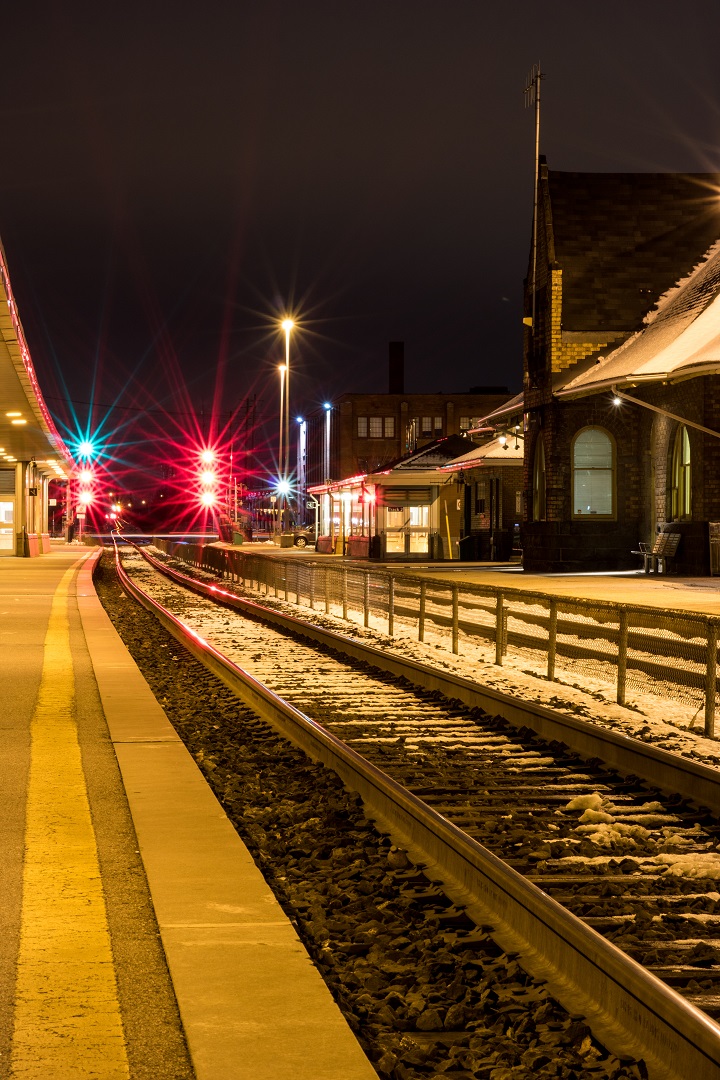
The photos in the gallery were taken at the Brampton, Ontario GO Station. That location was chosen for no better reason than I wanted to use a set of railroad signal lights to really show off how each aperture size affected the image. All were taken with a Tamron 70-300 Macro Zoom Lens (click that link to find out more on what that affordable lens is capable of).
I simply ran through the range of f/stop settings in aperture priority mode, locked in at ISO-100. The exposure times are included in the chart below the gallery. The signal lights didn’t quite co-operate with the top left turning green halfway through the session.
Full Gallery With Range Of Aperture Sizes
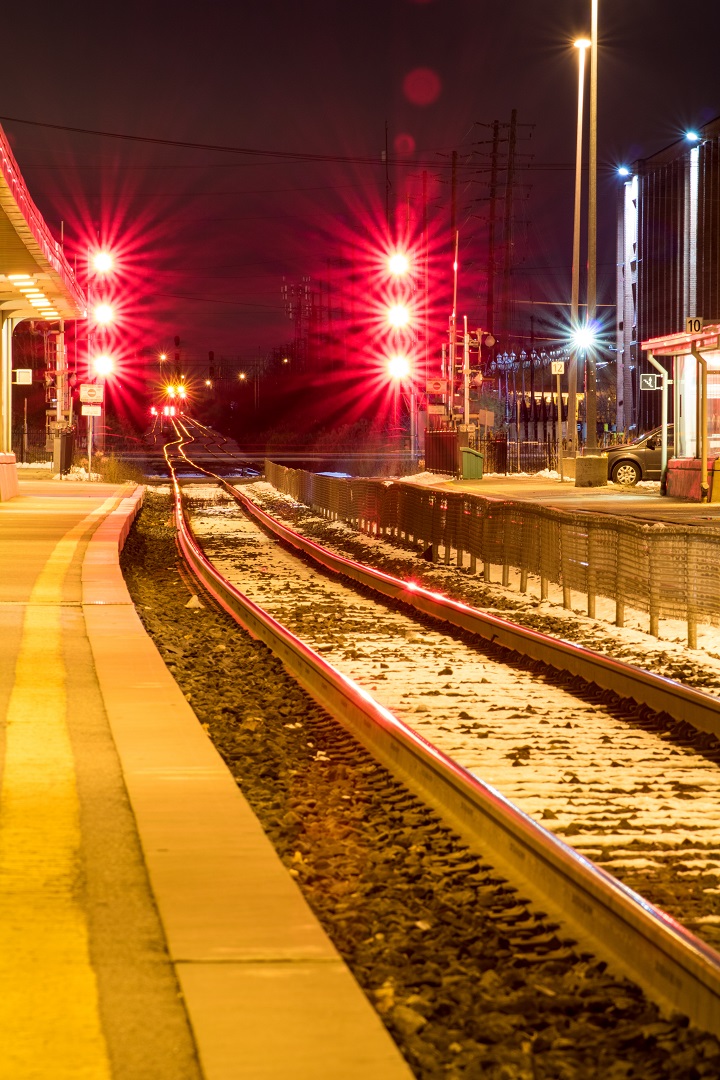
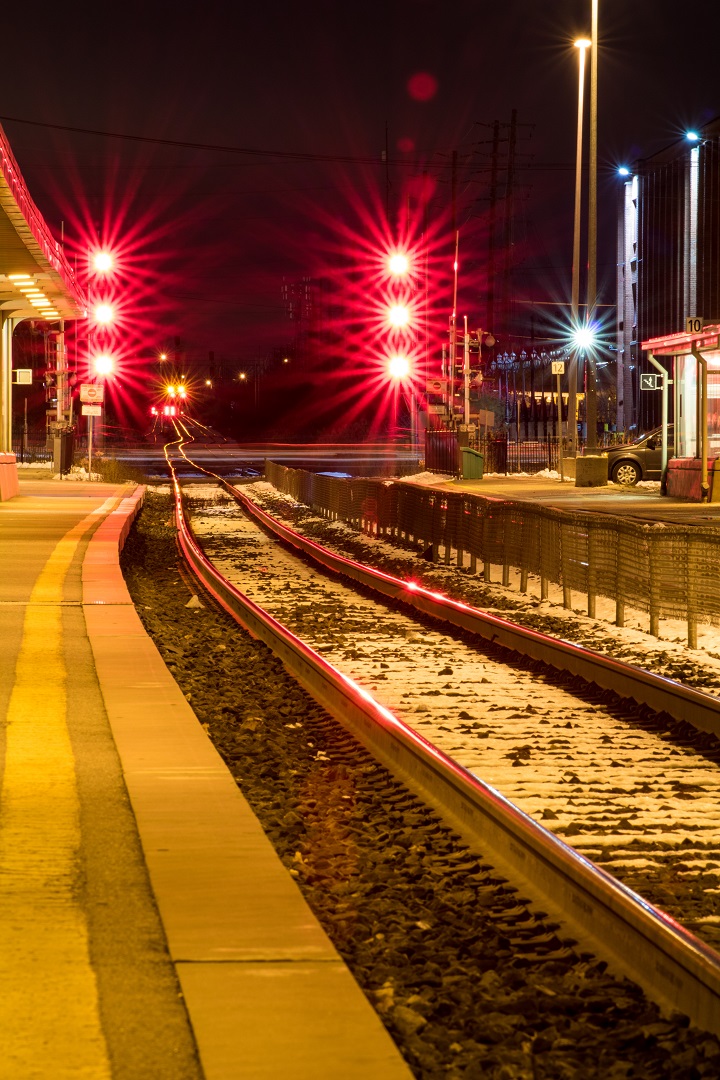
Watch as the lighting effects progress from ‘blobs’ at larger aperture sizes to spectacular bursts of light at the smaller apertures.


Not all Lenses Provide The Same Starburst Results
The Tamron 70-300 Macro Zoom Lens has nine blades. Lenses with an odd number of blades will produce double the amount of diffraction spikes. Yes, click any of the images in the gallery for a larger version and you will count 18 spikes around each and every light.
Where it gets funky is with a lens that has an even number of aperture blades, the number of diffraction spikes equals the number of blades. The adjacent photo was taken with an Oshiro 60mm Ultra-Macro Lens. This lens has 14 aperture blades, meaning each light is surrounded by 14 spikes.
Starburst Experiment Data
| Image | f/stop | Exposure (Seconds) | ISO |
| 1 | 4.5 | 2.0 | 100 |
| 2 | 5.0 | 3.2 | 100 |
| 3 | 5.6 | 4.0 | 100 |
| 4 | 6.3 | 5.0 | 100 |
| 5 | 7.1 | 6.0 | 100 |
| 6 | 8.0 | 8.0 | 100 |
| 7 | 9.0 | 10.0 | 100 |
| 8 | 10.0 | 13.0 | 100 |
| 9 | 11.0 | 15.0 | 100 |
| 10 | 13.0 | 20.0 | 100 |
| 11 | 14.0 | 25.0 | 100 |
| 12 | 16.0 | 30.0 | 100 |
| 13 | 18.0 | 30.0 | 100 |
| 14 | 20.0 | 30.0 | 100 |
| 15 | 22.0 | 30.0 | 100 |
| 16 | 25.0 | 30.0 | 100 |
| 17 | 29.0 | 30.0 | 100 |
| 18 | 32.0 | 30.0 | 100 |
| 19 | 36.0 | 30.0 | 100 |
Transform Your Photography
With this simple guide to starburst effect photography, you can transform your bland photos into stunning images. Just remember to bring your tripod and remote shutter release to get as sharp an image as possible. And, to decrease noise, lock down that ISO to 100 if possible. Don’t be afraid to play around with the settings and swap between lens types and you will achieve amazing results.
