

Turns out, this technique is so easy, even a hack like myself can pull off an example in literally a minute. There are several ways to do this technique using Photoshop Elements. The step-by-step instructions below are of just one way, and probably the easiest. Please note that I used Photoshop Elements 8. However, versions before and after should be quite similar.
Be sure to check out the embedded video below the instructions. This a screen recording from start to finish. The video is only 1 minute and 22 seconds long and a good 20 seconds of that is titles at the start and finish.
Instructions
1. Open Photoshop Elements – duh!
2. Click ‘File’ from the top menu bar and open the colour image you want to work with.
3. Select ‘Quick Selection Tool’ from left side tool bar.
![]()

4. Select the area you want to remain coloured. Hold down the left button on your mouse and drag across the area you want to select.
5. Click ‘Select’ from the top menu bar.
![]()

6. Click ‘Inverse’ from the drop down menu.
7. Click ‘Layer’ from the top menu bar.
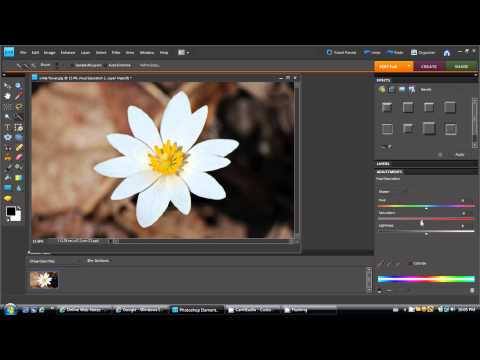
8. Mouseover ‘New Adjustment Layer’ then click ‘Hue/Saturation’ and click ‘OK’.
9. In the ‘Adjustments’ area at the bottom right of your screen, find the ‘Saturation’ bar.

10. Click and drag the arrow on the ‘Saturation’ bar all the way to the left. The numeric value will read -100.

11. Click ‘File’ from the top menu bar and choose ‘Save as’ to save your modified image.
The whole darn thing in video form:
Once you’ve got this method down, there’s much more you can do. You don’t have to go to black and white with your background and you can also adjust your foreground.
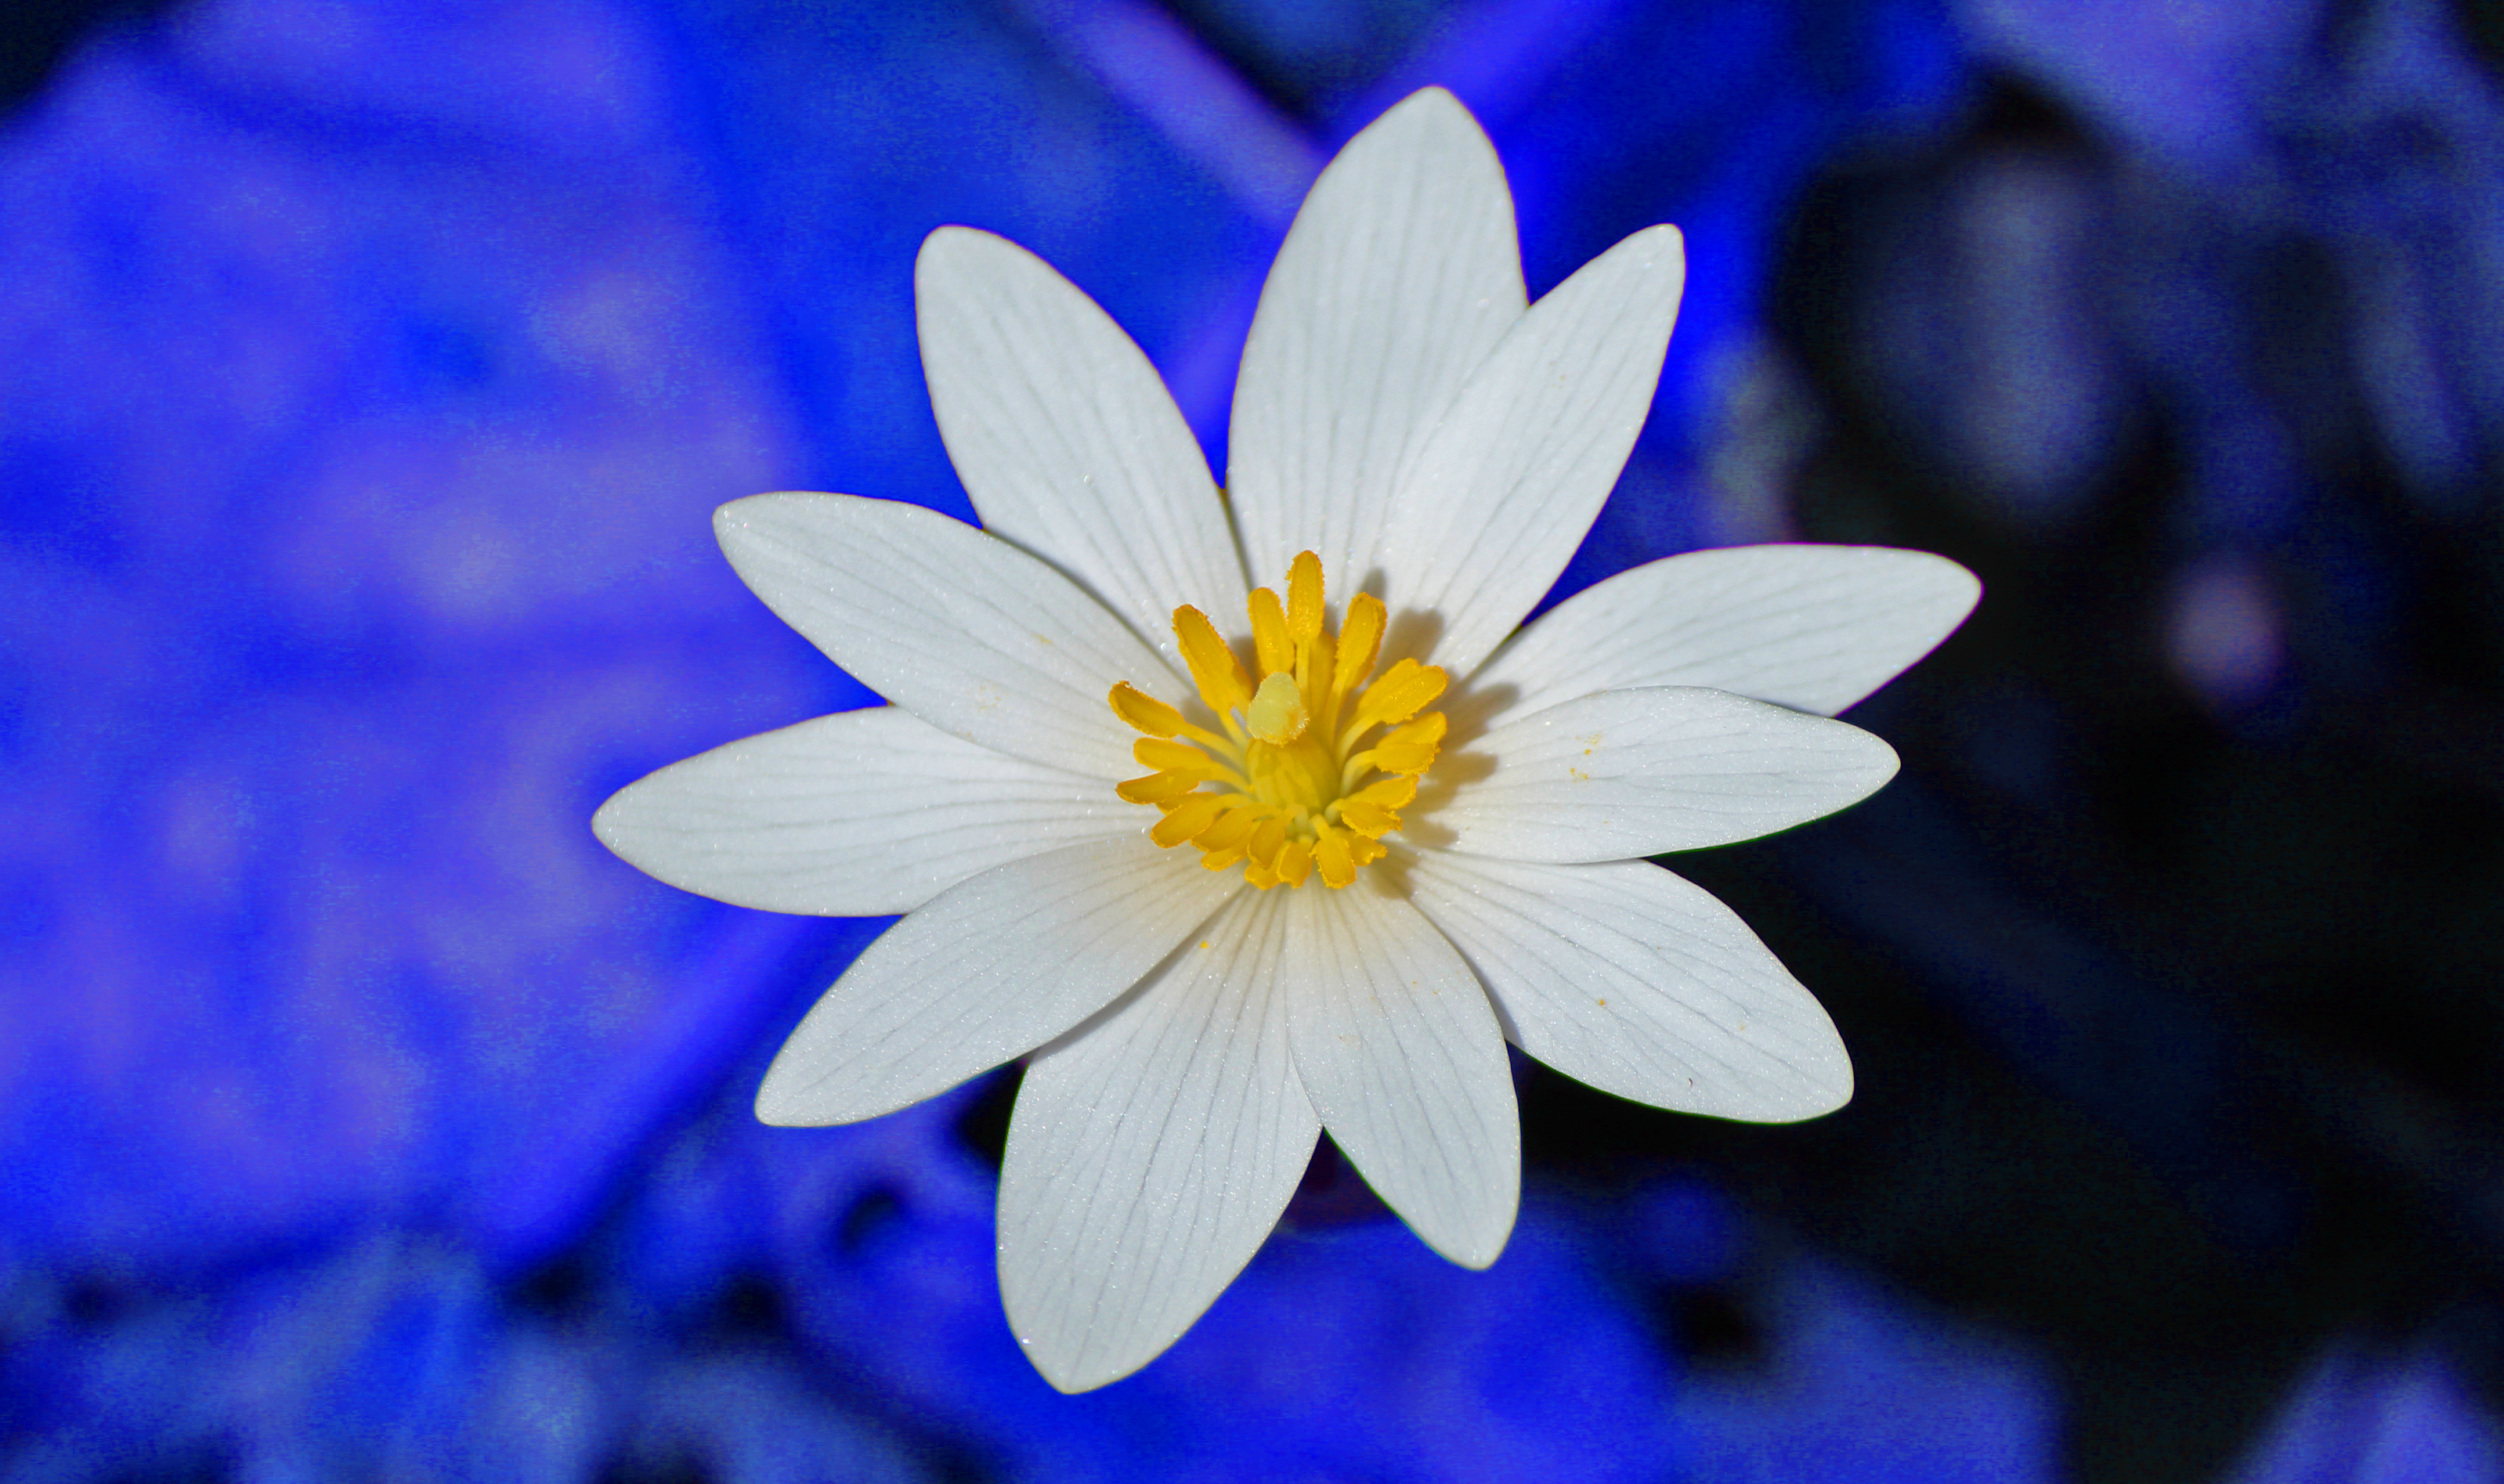
This image was done exactly as the one desribed above but the background colour was changed to blue instead of black and white. This time, instead of adjusting the saturation, adjust the hue.
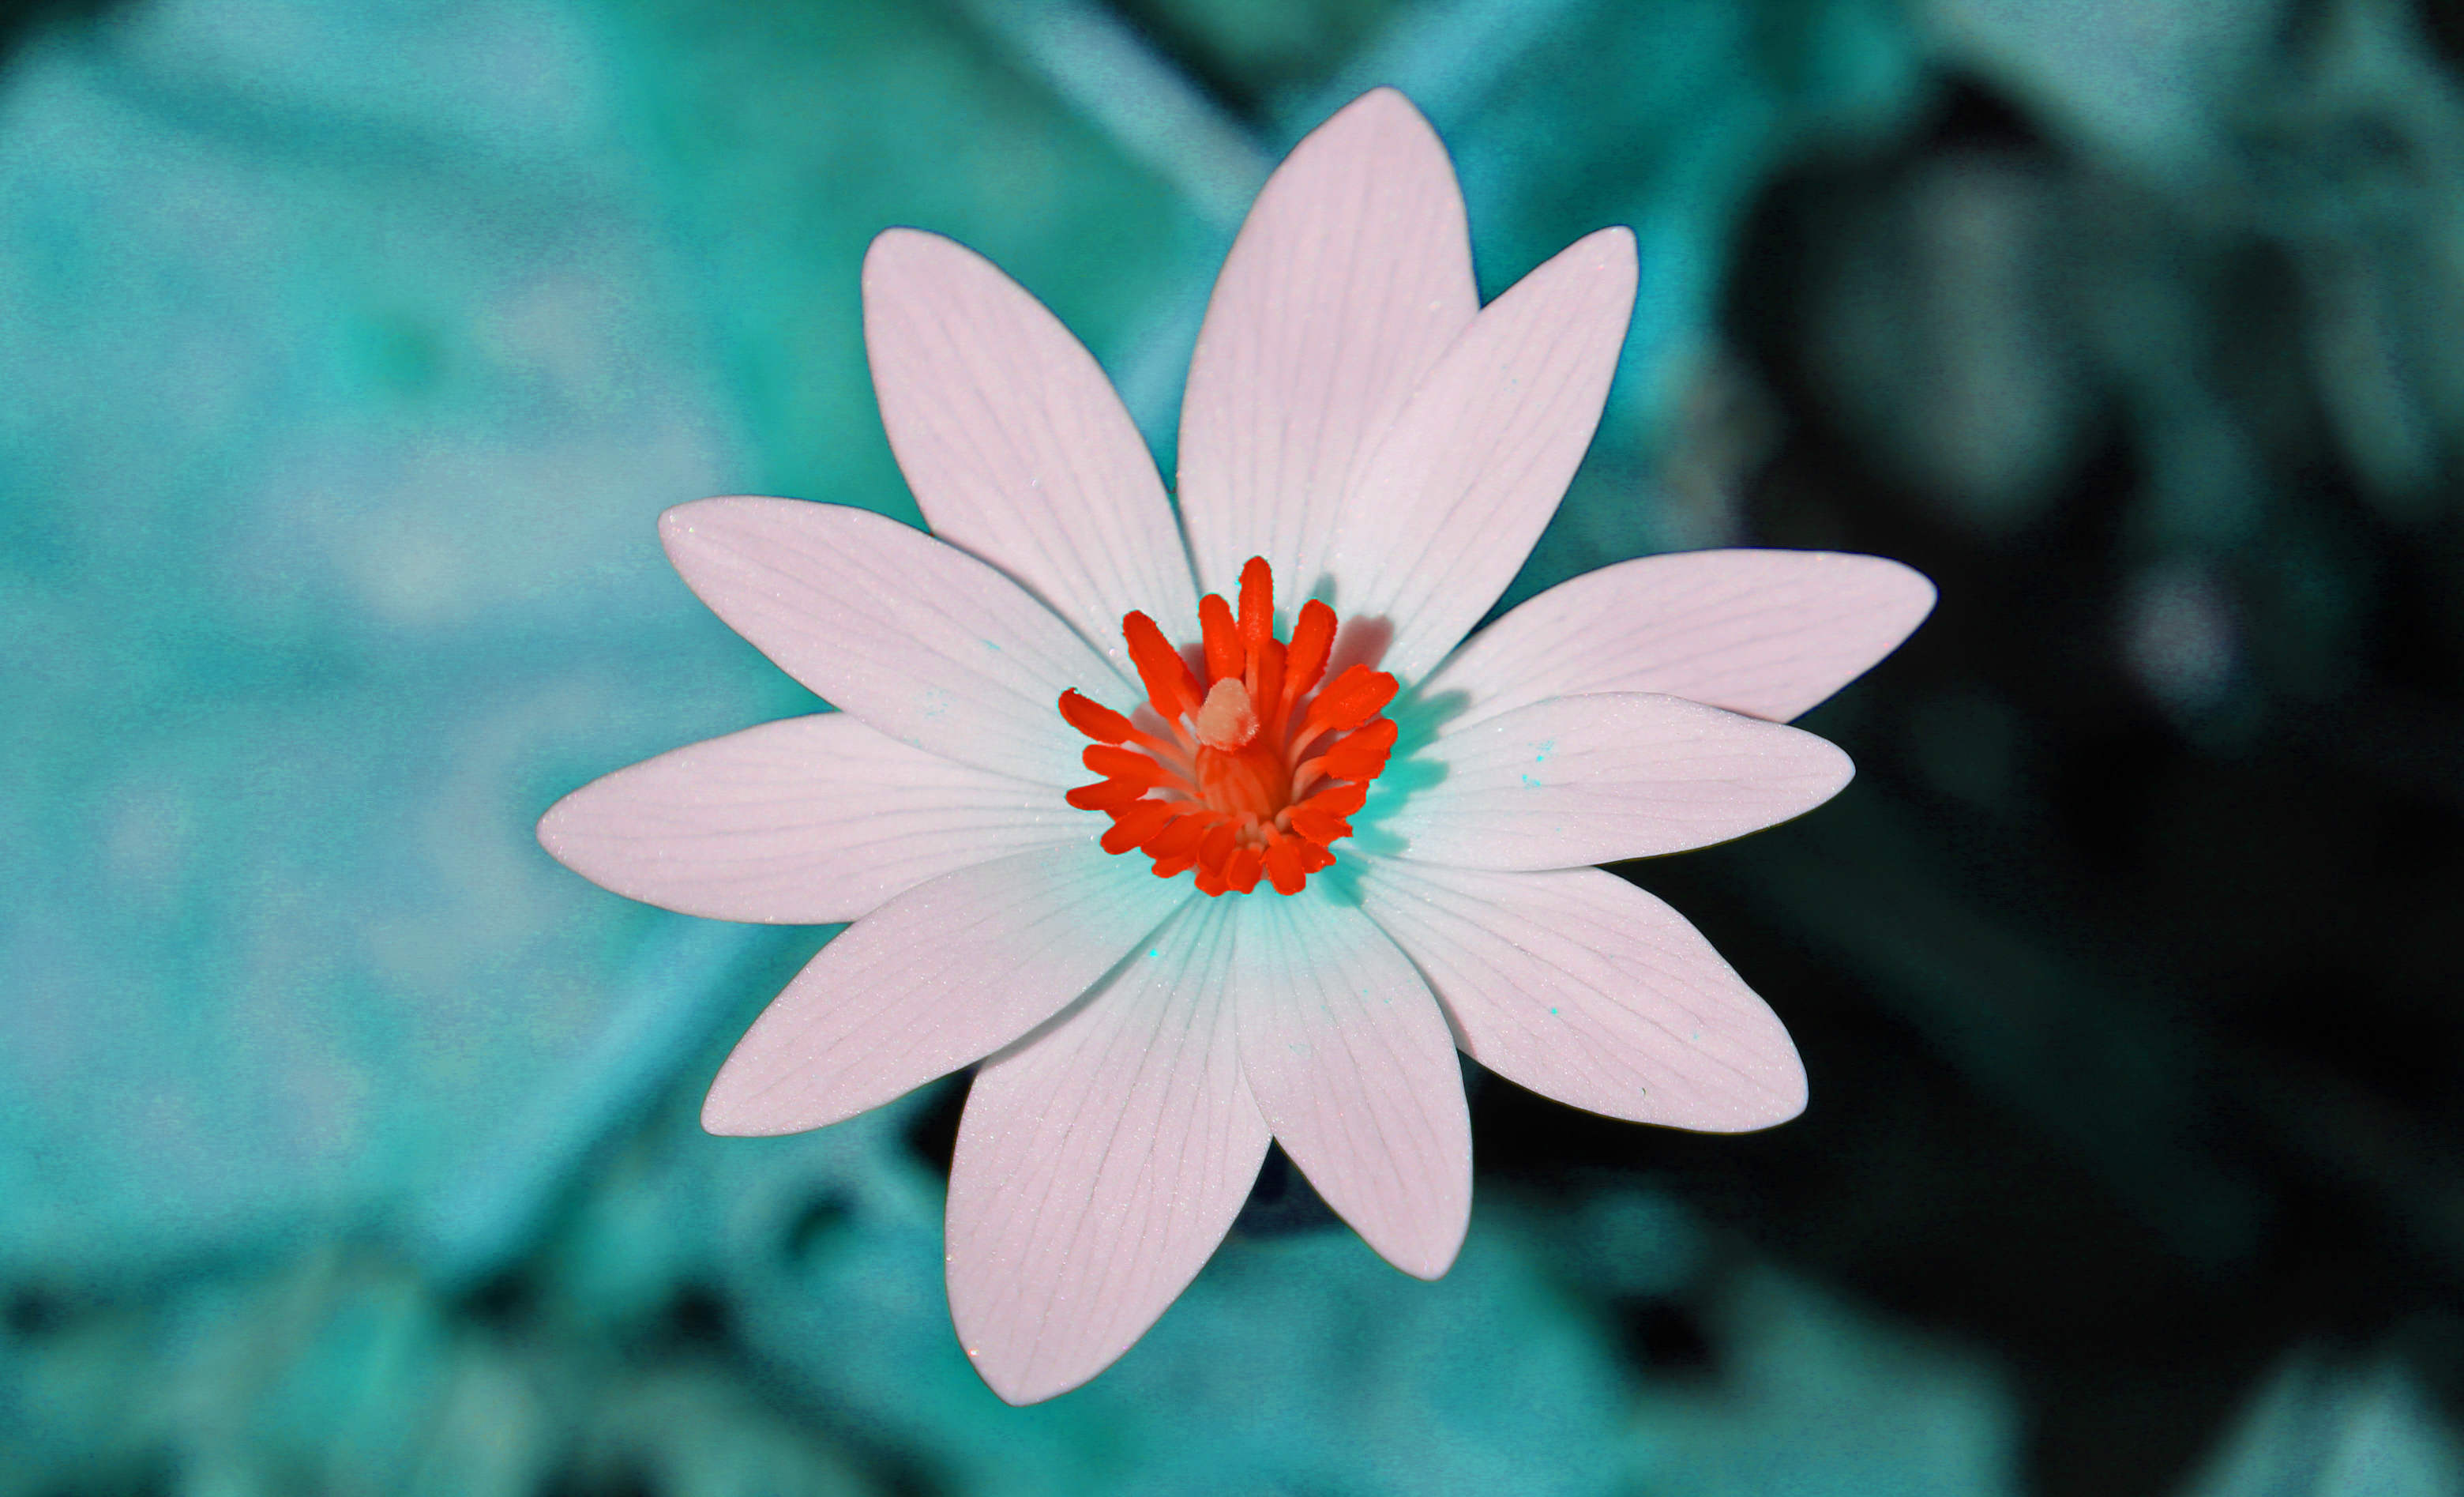
This version was a little more complicated – but not really. This is basically just three adjustment layers. The background colour was changed as above. The centre of the flower was adjusted by selecting it with the Quick Selection Tool but not inverting. The shadow around the centre of the flower was done by just selecting the the white pedals of the flower and once again adjusting the hue to the colour of your liking. Just be careful not to over-saturate or adjust the hue to far where blotching starts to form.
